

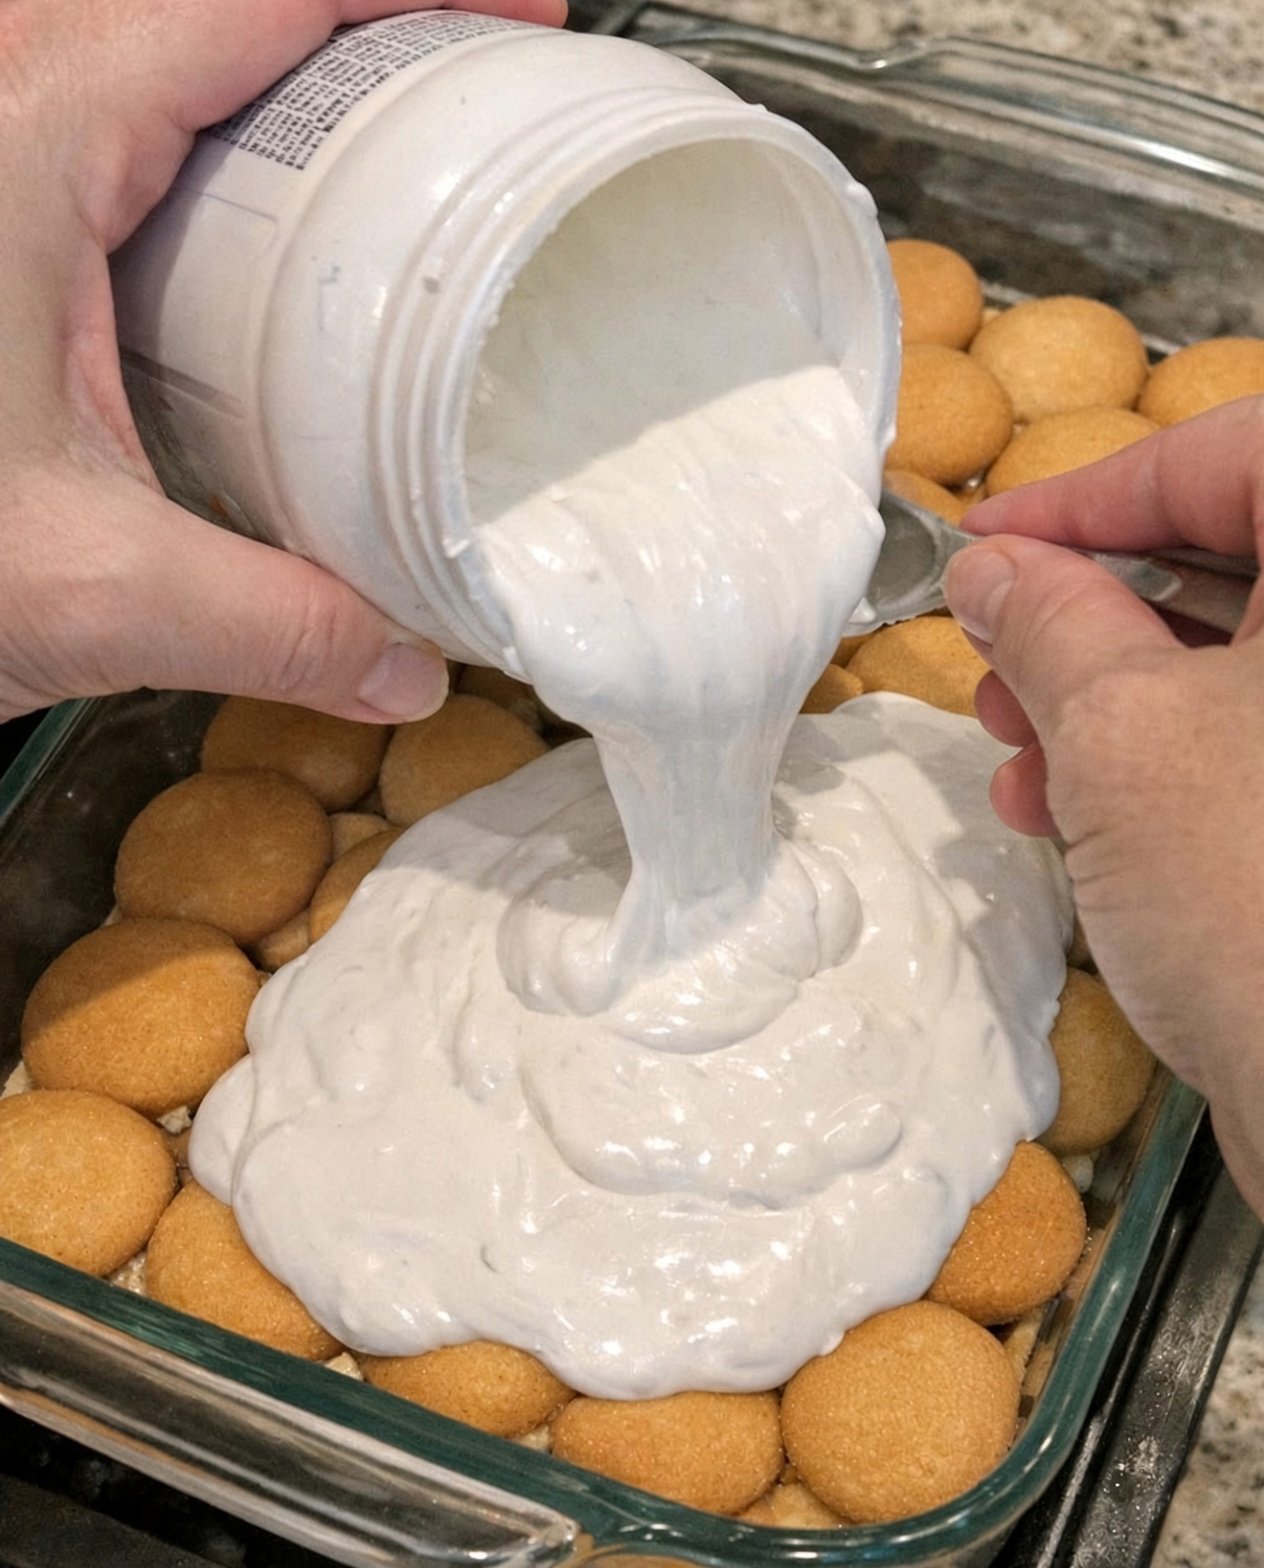
Oven Baked 5-Ingredient Marshmallow Vanilla Wafer Bars
Oven Baked 5-Ingredient Marshmallow Vanilla Wafer Bars are a simple, nostalgic dessert made with crisp vanilla wafers, fluffy marshmallows, and a buttery sweet topping. These easy dessert bars come together with just five main ingredients and bake into a chewy, golden treat that is perfect for holidays, bake sales, family gatherings, or an everyday sweet craving.
If you love old-fashioned desserts that don’t require complicated techniques, this recipe is one to keep in your collection. The vanilla wafers add a delicate crunch, while the marshmallows melt into soft, gooey pockets throughout the bars.
Why You’ll Love This Recipe
- Only 5 main ingredients
- Easy to prepare
- No complicated decorating required
- Sweet, buttery, and nostalgic
- Great for holidays and potlucks
- Easy to cut and serve
- Perfect for beginner bakers
- Delicious with coffee or tea
Ingredients
1. Vanilla Wafers
Vanilla wafer cookies form the crunchy base and add a classic vanilla flavor. Crush some of the wafers finely while leaving some pieces slightly larger for texture.
2. Mini Marshmallows
Mini marshmallows melt beautifully during baking and create soft, chewy pockets throughout the bars.
3. Butter
Melted butter helps bind the wafer mixture together and adds richness.
4. Granulated Sugar
Sugar adds sweetness and helps create a lightly golden, deliciously crisp exterior.
5. Vanilla Extract
A small amount of vanilla extract enhances the vanilla flavor of the wafers and gives the dessert its classic bakery-style aroma.
How to Make Marshmallow Vanilla Wafer Bars
Step 1: Prepare the Oven
Preheat your oven to 350°F (175°C).
Line an 8-by-8-inch or 9-by-9-inch baking pan with parchment paper, leaving some overhang on the sides for easy removal.
Lightly grease the parchment.
Step 2: Crush the Vanilla Wafers
Place the vanilla wafers in a food processor and pulse until most are finely crushed.
You can also place them in a resealable bag and crush them with a rolling pin.
Reserve a small handful of larger wafer pieces if you want additional texture.
Step 3: Make the Wafer Mixture
In a mixing bowl, combine the crushed vanilla wafers, melted butter, sugar, and vanilla extract.
Stir until the mixture is evenly moistened and resembles coarse crumbs.
Step 4: Form the Base
Press about two-thirds of the wafer mixture firmly into the bottom of the prepared baking pan.
Use the back of a spoon or the bottom of a measuring cup to create an even layer.
Step 5: Add the Marshmallows
Sprinkle the mini marshmallows evenly over the crust.
Try to distribute them all the way to the edges for marshmallow flavor in every bite.
Step 6: Add the Remaining Wafer Mixture
Sprinkle the remaining wafer mixture over the marshmallows.
Do not press too firmly. Leaving some of the marshmallows exposed allows them to become beautifully golden during baking.
Step 7: Bake
Place the pan in the preheated oven and bake for approximately 15–20 minutes, or until the marshmallows are puffed and lightly golden and the edges are set.
Watch the bars closely during the final few minutes because marshmallows can brown quickly.
Step 8: Cool Completely
Remove the pan from the oven and place it on a wire rack.
Allow the bars to cool completely before cutting.
For cleaner slices, refrigerate them for about 30 minutes after cooling.
Tips for the Best Marshmallow Vanilla Wafer Bars
Line the Pan
Parchment paper makes it much easier to lift the entire dessert from the pan before slicing.
Don’t Crush Every Wafer Into Powder
A mixture of fine crumbs and small cookie pieces gives the bars a more interesting texture.
Don’t Overbake
Marshmallows can go from lightly golden to overly browned quickly. Keep an eye on the bars during the last few minutes.
Cool Before Cutting
The melted marshmallows need time to set. Cutting the bars while they are hot can result in a messy dessert.
Use a Sharp Knife
For neat squares, use a sharp knife and wipe it clean between cuts.
Easy Variations
Chocolate Marshmallow Wafer Bars
Add a layer of chocolate chips beneath the marshmallows for a chocolate-and-vanilla combination.
Coconut Version
Stir shredded coconut into the vanilla wafer mixture for a chewy coconut twist.
Nutty Wafer Bars
Add finely chopped pecans or walnuts to the crust mixture.
Cinnamon Vanilla Bars
Add a pinch of ground cinnamon for a warm, bakery-style flavor.
Holiday Version
Top the finished bars with a light dusting of powdered sugar once completely cooled.
How to Serve
These bars are delicious served at room temperature, but they can also be enjoyed slightly chilled.
Serve them with:
- Coffee
- Hot chocolate
- Tea
- Vanilla ice cream
- Whipped cream
- Fresh berries
They make an especially easy dessert for cookie trays, holiday parties, bake sales, and potlucks.
Make-Ahead Instructions
These bars are excellent for making ahead.
Prepare and bake them according to the recipe, then allow them to cool completely. Cover the pan tightly and keep it at room temperature for a day or refrigerate for longer storage.
If refrigerated, allow the bars to sit at room temperature for several minutes before serving.
How to Store Marshmallow Vanilla Wafer Bars
Store the bars in an airtight container.
They can be kept at room temperature for approximately 2–3 days or refrigerated for up to 5 days.
Place parchment paper between layers if stacking the bars.
Can You Freeze These Dessert Bars?
Yes, they can be frozen, although the marshmallow texture may become slightly softer after thawing.
Wrap individual bars tightly or place them in a freezer-safe container with parchment between layers.
Freeze for up to 1 month for the best texture.
Thaw in the refrigerator or at room temperature before serving.
Frequently Asked Questions
Can I use regular marshmallows instead of mini marshmallows?
Yes. Cut regular marshmallows into smaller pieces so they distribute more evenly throughout the dessert.
Can I use another cookie?
Yes. Shortbread cookies or another crisp vanilla-flavored cookie can work as substitutes, although vanilla wafers provide the most traditional flavor.
Why did my marshmallows become too brown?
Marshmallows brown quickly under high heat. Keep the pan on the middle oven rack and watch closely toward the end of baking.
Can I add chocolate chips?
Absolutely. Chocolate chips pair wonderfully with vanilla wafers and marshmallows.
How do I get clean slices?
Allow the bars to cool completely before slicing. Chilling them briefly can make cutting even easier.
Oven Baked 5-Ingredient Marshmallow Vanilla Wafer Bars at a Glance
Prep Time: 15 minutes
Bake Time: 15–20 minutes
Cooling Time: 30–60 minutes
Total Time: About 1 hour
Servings: 12–16 bars
Oven Temperature: 350°F (175°C)
Ingredients
- 2 cups crushed vanilla wafers
- 2 cups mini marshmallows
- 6 tablespoons butter, melted
- ⅓ cup granulated sugar
- 1 teaspoon vanilla extract
Instructions
- Preheat oven to 350°F.
- Line and lightly grease an 8-by-8-inch or 9-by-9-inch baking pan.
- Crush the vanilla wafers.
- Combine the crushed wafers with melted butter, sugar, and vanilla.
- Press about two-thirds of the mixture firmly into the prepared pan.
- Sprinkle mini marshmallows evenly over the crust.
- Top with the remaining wafer mixture.
- Bake for 15–20 minutes, until the marshmallows are puffed and lightly golden.
- Cool completely.
- Cut into squares and serve.
Final Thoughts
Oven Baked 5-Ingredient Marshmallow Vanilla Wafer Bars are proof that an easy dessert can still feel special. With only five simple ingredients, you get layers of crisp vanilla cookie, buttery sweetness, and soft toasted marshmallow in every bite.
They are simple enough for a weeknight treat and festive enough for holidays, parties, and dessert tables. Make a pan, let it cool, cut it into squares, and enjoy an old-fashioned treat with minimal effort.