

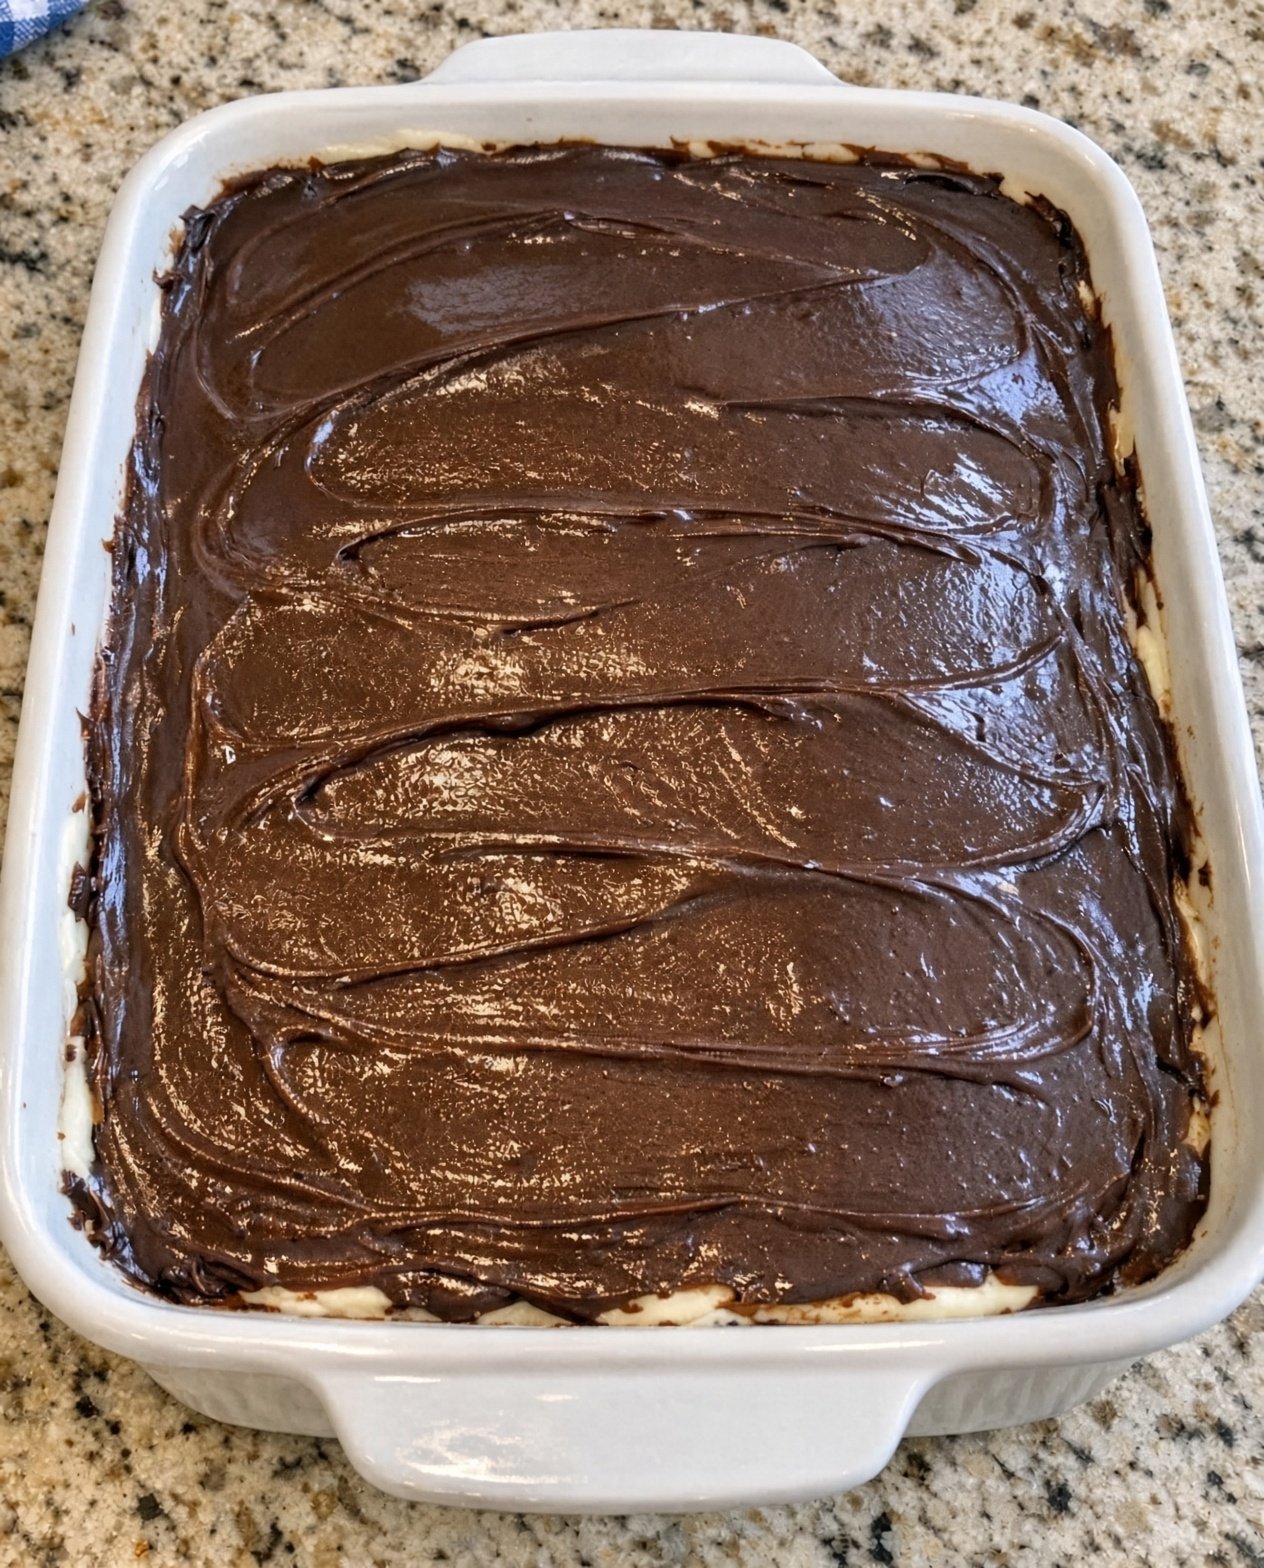
4-Ingredient Depression Era Icebox Cake
This 4-Ingredient Depression Era Icebox Cake is a simple, old-fashioned dessert inspired by the resourceful baking traditions of the past. With just four affordable ingredients and no oven required, this creamy refrigerator cake transforms simple pantry staples into a soft, sliceable dessert.
The cookies soften as they chill, creating cake-like layers surrounded by a sweet, creamy filling. It is an easy make-ahead dessert that is perfect for family gatherings, potlucks, holidays, or whenever you want something sweet without complicated baking.
Why You’ll Love This Depression Era Icebox Cake
- Only 4 simple ingredients
- No oven required
- Budget-friendly dessert
- Easy to assemble
- Perfect make-ahead recipe
- Soft, creamy texture after chilling
- Great for family gatherings and potlucks
Ingredients
- 2 cups heavy whipping cream
- 1/2 cup granulated sugar
- 1 teaspoon vanilla extract
- 2 packages (about 9 ounces each) plain chocolate wafer cookies
How to Make 4-Ingredient Depression Era Icebox Cake
Step 1: Prepare the Cream Filling
Pour the heavy whipping cream into a large mixing bowl.
Add the sugar and vanilla extract.
Beat with an electric mixer until the cream forms firm peaks. Be careful not to overbeat.
Step 2: Start the Layers
Spread a thin layer of whipped cream across the bottom of an 8-inch square baking dish.
Arrange a layer of chocolate wafer cookies over the cream, placing them close together.
Step 3: Continue Layering
Spread another layer of whipped cream over the cookies.
Add another layer of chocolate wafers.
Continue alternating cookies and whipped cream until all the ingredients have been used, finishing with a layer of whipped cream.
Step 4: Cover and Refrigerate
Cover the dish tightly with plastic wrap or a lid.
Refrigerate for at least 6 hours.
For the softest, most cake-like texture, refrigerate the dessert overnight.
Step 5: Slice and Serve
Once thoroughly chilled, remove the cake from the refrigerator.
Slice into squares and serve cold.
The cookies will have softened considerably, creating a texture similar to a traditional chilled cake.
Tips for the Best Icebox Cake
Chill overnight when possible. Although six hours is enough, overnight refrigeration allows the cookies to absorb moisture from the cream and become wonderfully soft.
Whip the cream properly. Stop beating as soon as firm peaks form. Overbeating can make the cream grainy.
Keep the cookie layers even. Arrange the wafers closely together so every slice has a good balance of cookies and cream.
Don’t rush the chilling process. The refrigerator does the important work of transforming the crisp cookies into tender cake-like layers.
Use a sharp knife. A clean, sharp knife makes it easier to cut neat portions.
Easy Variations
Vanilla Wafer Icebox Cake
Replace the chocolate wafers with vanilla wafer cookies for a lighter version.
Chocolate Cream Icebox Cake
Add a little unsweetened cocoa powder to the whipped cream for an extra chocolate flavor.
Cinnamon Icebox Cake
Add a small amount of ground cinnamon to the whipped cream for a warm, nostalgic flavor.
Banana Icebox Cake
Add thinly sliced bananas between some of the cookie and cream layers.
Peanut Butter Icebox Cake
Add thin drizzles of smooth peanut butter between the layers for a chocolate-peanut butter combination.
How to Serve Depression Era Icebox Cake
This cake is best served cold.
For a simple presentation, slice it into squares and serve as-is. You can also add:
- A dusting of cocoa powder
- Chocolate shavings
- Fresh berries
- Sliced bananas
- A small spoonful of whipped cream
How to Store
Keep the icebox cake covered and refrigerated.
It is best enjoyed within 3 days. The cookies will continue softening as the cake sits, so the texture will become increasingly tender.
Can You Make It Ahead?
Yes. This is an excellent make-ahead dessert.
Prepare it the night before serving and refrigerate overnight. The extra chilling time allows the layers to meld together and produces the soft, cake-like texture that makes an icebox cake special.
Can You Freeze Icebox Cake?
Yes, although freezing can slightly change the texture of the whipped cream.
For best results, freeze the cake covered in an airtight container for up to 1 month. Thaw it in the refrigerator before serving.
Frequently Asked Questions
Why is it called an icebox cake?
Icebox cakes are chilled desserts that set in the refrigerator rather than being baked. The term “icebox” comes from the old-fashioned name for early home refrigeration appliances.
Does this cake need to be baked?
No. There is no baking required.
How long should an icebox cake chill?
At least 6 hours is recommended, but chilling overnight gives the cookies more time to soften and develop a cake-like texture.
Can I use homemade whipped cream?
Yes. Homemade whipped cream works particularly well because it provides a fresh, creamy filling.
Can I use different cookies?
Absolutely. Chocolate wafers, vanilla wafers, graham crackers, and other thin crisp cookies can work depending on the flavor you want.
Recipe at a Glance
Recipe: 4-Ingredient Depression Era Icebox Cake
Prep Time: 20 minutes
Chill Time: 6 hours
Total Time: About 6 hours 20 minutes
Servings: 9–12
Cooking Method: No-bake
Final Thoughts
This 4-Ingredient Depression Era Icebox Cake is a wonderful example of how a simple dessert can create something special without complicated preparation. Four basic ingredients and a little patience are all you need to create layers of soft cookies and sweet, creamy filling.
Make it the night before, let the refrigerator do the work, and you’ll have an easy old-fashioned dessert ready to slice and share.