

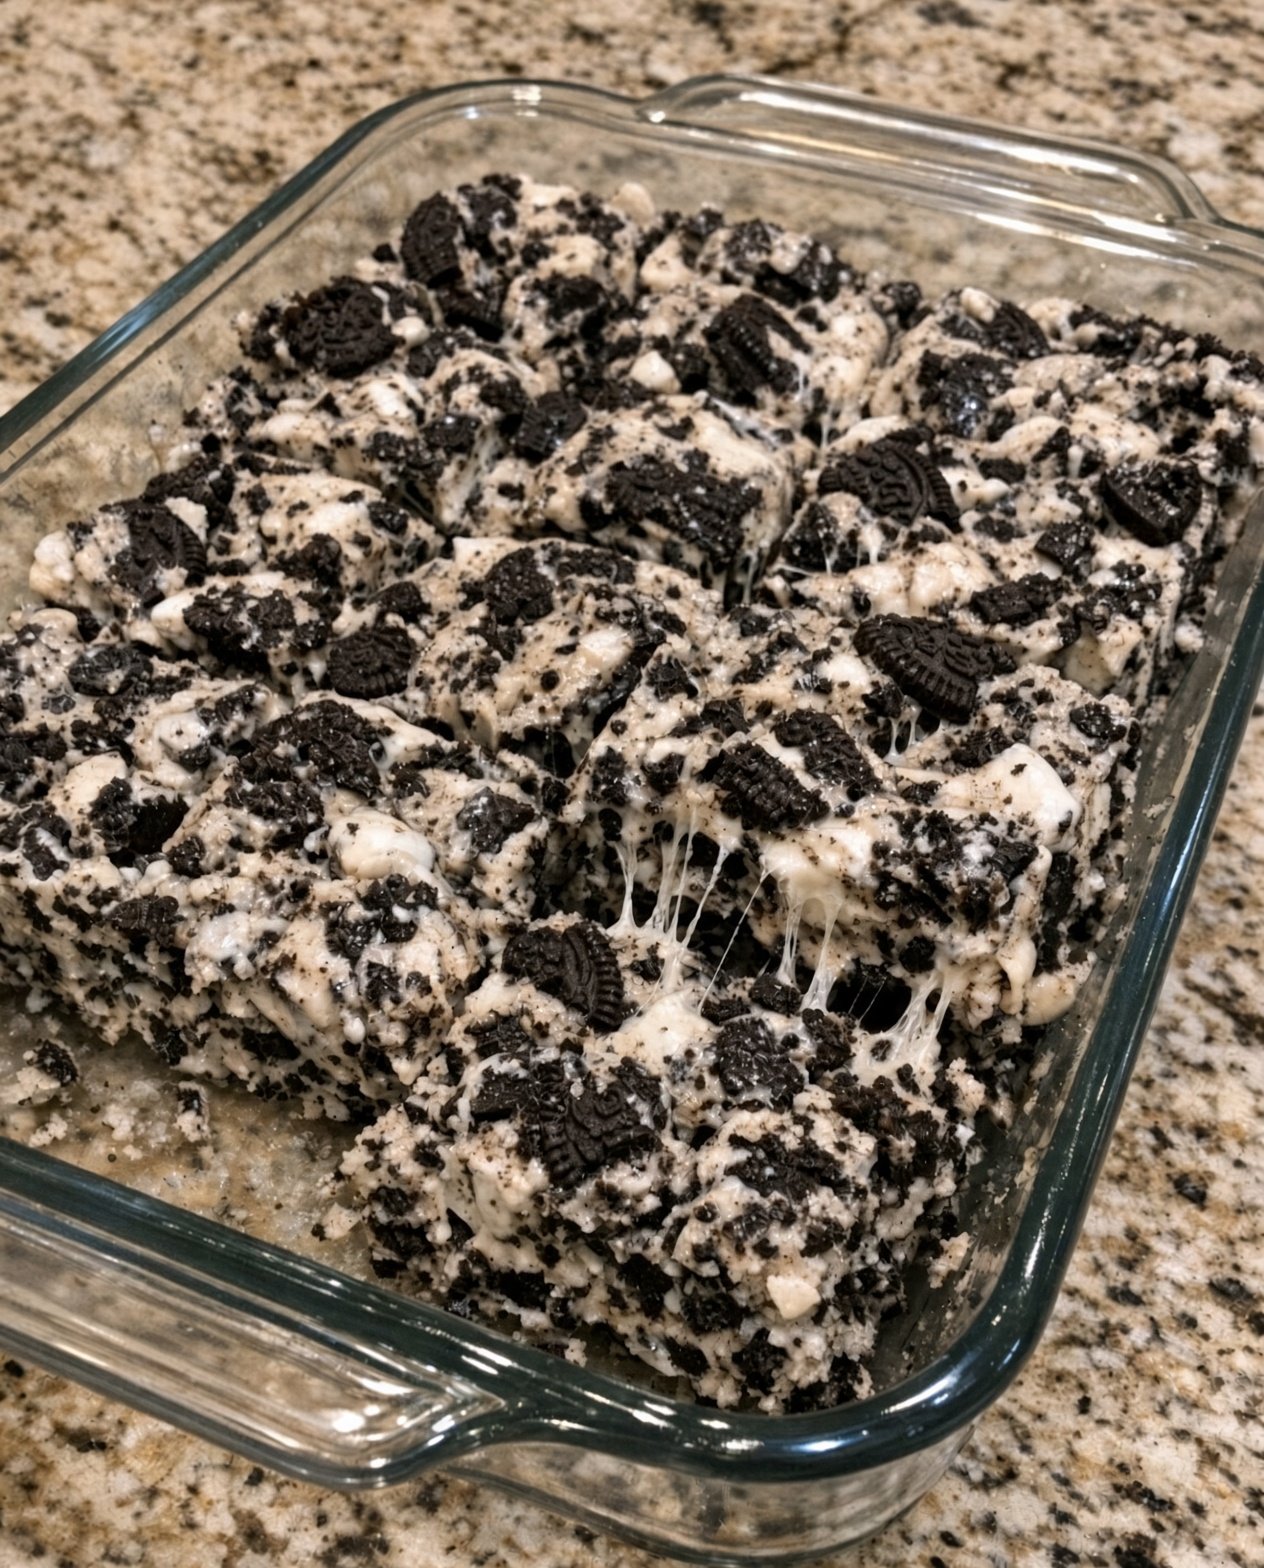
These 3-Ingredient Cookies and Cream Bars are an easy, no-bake dessert made for anyone who loves the classic combination of chocolate cookies and creamy sweetness. With just three simple ingredients, you can prepare a batch of rich, chewy bars without turning on the oven or spending hours in the kitchen.
Perfect for birthday parties, potlucks, lunchbox treats, holiday dessert trays, or a quick weekend indulgence, these cookies and cream bars are simple enough for beginner cooks and delicious enough to share with family and friends.
The secret is using chocolate sandwich cookies, melted white chocolate, and a little butter to create a sweet, creamy mixture that firms up beautifully in the refrigerator.
Why You’ll Love These Cookies and Cream Bars
- Only three ingredients: No long shopping list or complicated preparation.
- No baking required: The refrigerator does the work of setting the bars.
- Creamy and crunchy: Chocolate cookie pieces contrast with the smooth white chocolate.
- Easy to customize: Use your favorite chocolate sandwich cookies.
- Perfect for sharing: Cut into squares or rectangles for parties and gatherings.
Ingredients
1. Chocolate Sandwich Cookies
Use approximately 24 regular chocolate sandwich cookies with cream filling. Crush most of the cookies into small pieces, leaving a few slightly larger chunks for extra texture.
2. White Chocolate Chips
Use 2 cups of white chocolate chips. When melted, they bind the cookie pieces together and create the sweet cookies-and-cream flavor.
3. Unsalted Butter
Use 2 tablespoons of unsalted butter to help the white chocolate melt smoothly and give the bars a softer texture.
How to Make 3-Ingredient Cookies and Cream Bars
Step 1: Prepare the Pan
Line an 8-inch square baking pan with parchment paper, leaving a little overhang on two sides. This makes it easier to lift out the chilled bars later.
Step 2: Crush the Cookies
Place the chocolate sandwich cookies in a large bowl or sealed bag. Crush them into small chunks using your hands or a rolling pin.
Avoid turning every cookie into fine crumbs. Keeping some larger pieces gives the bars a more satisfying crunch.
Step 3: Melt the White Chocolate and Butter
Add the white chocolate chips and butter to a microwave-safe bowl. Microwave in 20-second intervals, stirring after each interval, until the mixture is smooth.
Use low heat and avoid overheating, as white chocolate can become thick or seize if exposed to excessive heat or moisture.
Alternatively, melt the chocolate and butter in a heatproof bowl over a saucepan of gently simmering water.
Step 4: Mix in the Cookies
Add the crushed cookies to the melted white chocolate mixture. Stir until the cookie pieces are evenly coated.
Work relatively quickly because the mixture will begin to thicken as it cools.
Step 5: Press into the Pan
Transfer the mixture to the prepared baking pan. Spread it evenly, then press it down gently with a spatula or the back of a spoon.
Press firmly enough to help the bars hold together, but do not crush all the cookie pieces.
Step 6: Chill Until Firm
Refrigerate for approximately 1½–2 hours, or until the mixture is completely firm.
Step 7: Slice and Serve
Lift the chilled mixture out of the pan using the parchment paper. Place it on a cutting board and cut into squares or rectangles with a sharp knife.
For cleaner cuts, allow the bars to sit at room temperature for a few minutes before slicing.
Tips for the Best Cookies and Cream Bars
Use good-quality white chocolate. Different brands melt differently, so choose chips or baking chocolate that melt smoothly.
Crush the cookies evenly. A mixture of fine crumbs and small chunks helps the bars hold together while preserving their crunchy texture.
Avoid overheating the chocolate. Heat in short intervals and stir frequently to prevent scorching.
Line the pan with parchment. This makes removing the bars much easier and reduces sticking.
Chill completely. Cutting the bars before they are firm may cause them to crumble or lose their shape.
Use a warm knife. Run a sharp knife under warm water, dry it thoroughly, and slice for smoother edges.
Easy Variations
The original recipe contains three ingredients, but these optional additions let you change the flavor.
Chocolate Drizzle Bars
Drizzle melted dark or milk chocolate over the chilled bars. This adds another ingredient and creates a decorative finish.
Mint Cookies and Cream Bars
Use chocolate sandwich cookies with a mint-flavored filling for a refreshing twist.
Extra-Crunchy Bars
Reserve a few cookies, crush them coarsely, and sprinkle them over the top before chilling.
Birthday Party Bars
Use colorful chocolate sandwich cookies or add festive sprinkles on top before the mixture sets.
Dark Chocolate Version
Replace the white chocolate with dark chocolate for a less sweet, richer flavor. The finished bars will taste more like chocolate cookie fudge.
How to Serve Cookies and Cream Bars
These bars are delicious straight from the refrigerator, but they can be served in several ways:
- Arrange them on a dessert platter for parties.
- Serve alongside a glass of cold milk.
- Add them to a homemade dessert gift box.
- Cut them into small squares for a sweet snack.
- Serve with vanilla ice cream for an extra-indulgent dessert.
Because they are rich and sweet, smaller squares are often enough for a satisfying treat.
Storage Instructions
Refrigerator: Store the bars in an airtight container for up to 1 week. Separate layers with parchment paper to prevent sticking.
Freezer: Place the bars in a freezer-safe container and freeze for up to 2 months for best quality. Separate the layers with parchment paper.
Thawing: Allow frozen bars to thaw in the refrigerator or at room temperature for a short time before serving.
Serving tip: These bars soften in warm rooms because the chocolate-based mixture becomes softer as it warms. Keep them chilled until shortly before serving.
Frequently Asked Questions
Do these cookies and cream bars need to be baked?
No. This is a no-bake recipe. The melted white chocolate binds the cookie pieces together, and refrigeration allows the mixture to firm up.
Can I use a different brand of chocolate sandwich cookies?
Yes. Any similar chocolate sandwich cookies with a cream filling should work. Different brands may vary in sweetness, size, and texture.
Why is my white chocolate mixture thick or grainy?
White chocolate can become thick if overheated or exposed to moisture. Melt it gently in short intervals and make sure the bowl and utensils are completely dry.
Why are my bars falling apart?
They may need more chilling time, or the cookie pieces may be too large. Press the mixture evenly into the pan and refrigerate until completely firm before slicing.
Can I make these bars ahead of time?
Absolutely. They are ideal for preparing a day in advance. Keep them covered in the refrigerator until ready to serve.
Can I use chocolate melting wafers instead of chocolate chips?
Yes. White chocolate melting wafers can work well, but follow the package directions because some products melt and set differently from standard white chocolate chips.
Recipe Card
3-Ingredient Cookies and Cream Bars
Prep Time: 15 minutes
Chilling Time: 1½–2 hours
Total Time: Approximately 1 hour 45 minutes to 2 hours 15 minutes
Yield: 16 bars
Ingredients
- 24 chocolate sandwich cookies with cream filling
- 2 cups white chocolate chips
- 2 tablespoons unsalted butter
Instructions
- Line an 8-inch square baking pan with parchment paper.
- Crush the chocolate sandwich cookies into small chunks.
- Place the white chocolate chips and butter in a microwave-safe bowl.
- Microwave in 20-second intervals, stirring frequently, until smooth.
- Stir the crushed cookies into the melted chocolate mixture.
- Transfer to the prepared pan and press into an even layer.
- Refrigerate for 1½–2 hours, until firm.
- Lift from the pan, cut into squares, and serve.
Final Thoughts
These 3-Ingredient Cookies and Cream Bars are proof that a delicious dessert does not need a long ingredient list or complicated baking steps. Chocolate sandwich cookies, white chocolate, and butter come together to create a sweet, crunchy, creamy treat that is easy to prepare and even easier to share.
Keep a batch in the refrigerator for an afternoon snack, make them for your next gathering, or package them as a homemade gift. With their classic cookies-and-cream flavor and simple preparation, these bars are a dessert worth making again and again.