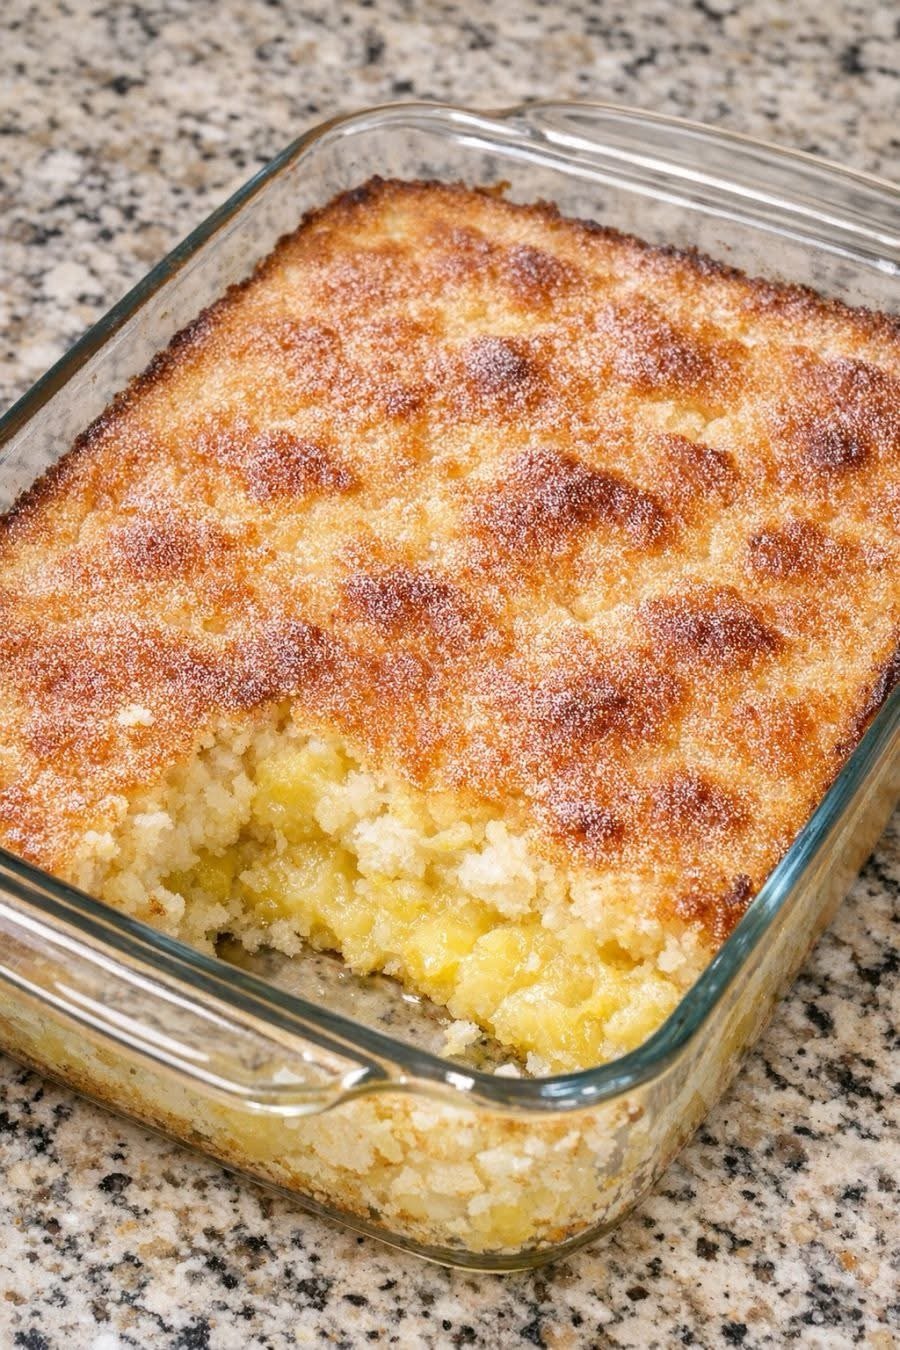
There are desserts that fill you up, and then there are desserts that feel like a cloud. Pineapple angel bars belong to the latter category. These light, airy, no-bake bars combine the tropical sweetness of crushed pineapple with the ethereal fluffiness of whipped topping and cream cheese, all set on a buttery graham cracker crust. They are sweet, tangy, creamy, and utterly irresistible—the kind of dessert that disappears from the pan before you can blink.
The name “angel bars” comes from their heavenly texture. The filling is light and mousse-like, thanks to whipped cream or whipped topping folded into a cream cheese and pineapple mixture. There is no baking involved, making these bars perfect for hot summer days, potlucks, or any time you want a impressive dessert without turning on the oven. They are also make-ahead friendly, which is always a bonus for holiday gatherings and family dinners.
This recipe stays true to the classic no-bake pineapple dessert, with a few small tweaks for extra flavor and stability. The graham cracker crust is buttery and slightly sweet. The filling is bright and creamy with a perfect balance of tangy cream cheese and sweet pineapple. A final garnish of toasted coconut or chopped pecans adds texture and visual appeal. Whether you are a seasoned baker or a beginner, these pineapple angel bars will come together easily and earn rave reviews.
Why You Will Love These Pineapple Angel Bars
· No baking required: Perfect for hot days or when the oven is full.
· Light and airy: Like eating a pineapple-flavored cloud.
· Sweet and tangy: The perfect balance of creamy, sweet, and bright.
· Make-ahead friendly: Tastes even better after chilling.
· Crowd-pleaser: Kids and adults alike love this dessert.
· Simple ingredients: Everything is easy to find at any grocery store.
· Beautiful and impressive: A stunning dessert with minimal effort.
Ingredients
Here is everything you need for pineapple angel bars:
For the Crust:
· 2 cups graham cracker crumbs (about 16 full sheets)
· ½ cup unsalted butter, melted
· ¼ cup granulated sugar
· Pinch of salt
For the Pineapple Angel Filling:
· 1 can (20 ounces) crushed pineapple in juice (do not drain)
· 1 package (8 ounces) cream cheese, softened to room temperature
· 1 cup powdered sugar
· 1 teaspoon vanilla extract
· 1 tub (8 ounces) frozen whipped topping (like Cool Whip), thawed (or 2 cups homemade whipped cream)
For the Topping (Optional):
· ½ cup sweetened shredded coconut, toasted
· ¼ cup chopped pecans or macadamia nuts
· Additional whipped topping for garnish
· Maraschino cherries or pineapple chunks for garnish
Step-by-Step Instructions
Step 1: Make the Crust
Preheat your oven to 350 degrees Fahrenheit (if you are toasting the crust—this step is optional but recommended for a firmer crust). In a medium bowl, combine the graham cracker crumbs, melted butter, sugar, and salt. Stir until the mixture resembles wet sand and is evenly moistened.
Press the mixture firmly into the bottom of a 9×13-inch baking dish. Use the bottom of a measuring cup or a glass to press down evenly. For a no-bake crust, refrigerate for 30 minutes to set. For a firmer, more stable crust, bake at 350 degrees Fahrenheit for 8 to 10 minutes, then cool completely before adding the filling.
Step 2: Drain the Pineapple (Partially)
Open the can of crushed pineapple. Pour it into a fine-mesh strainer set over a bowl. Press gently with a spoon to remove excess juice, but do not press dry. You want the pineapple to be moist but not swimming in liquid. Reserve the juice for another use (or drink it—it is delicious).
Step 3: Make the Pineapple Angel Filling
In a large mixing bowl, beat the softened cream cheese with an electric mixer until smooth and creamy. Add the powdered sugar and vanilla extract, and beat until well combined and fluffy.
Add the drained crushed pineapple to the cream cheese mixture. Beat on low speed until just combined. The mixture will be thick and slightly lumpy from the pineapple.
Step 4: Fold in the Whipped Topping
Gently fold the thawed whipped topping into the cream cheese and pineapple mixture. Use a rubber spatula and fold carefully to keep the mixture light and airy. Do not overmix—you want to maintain the fluffiness. The filling should be pale, creamy, and cloud-like.
Step 5: Assemble the Bars
Spread the pineapple angel filling evenly over the prepared crust. Use an offset spatula or the back of a spoon to smooth the top.
Step 6: Chill
Cover the baking dish with plastic wrap or aluminum foil. Refrigerate for at least 4 hours, or overnight for best results. The bars need time to set so they slice cleanly.
Step 7: Toast the Coconut (Optional)
While the bars are chilling, toast the shredded coconut if using. Spread the coconut on a baking sheet and bake at 325 degrees Fahrenheit for 3 to 5 minutes, stirring once, until golden brown. Watch carefully—coconut burns quickly. Let cool completely.
Step 8: Garnish and Serve
Just before serving, sprinkle the toasted coconut and chopped nuts over the top of the bars. For an extra-pretty presentation, pipe or dollop additional whipped topping on top and garnish with a maraschino cherry or a small pineapple chunk.
Slice into bars (about 12 to 16 squares) and serve chilled. Store leftovers in the refrigerator.
Cooking Tips and Pro Tips for Best Results
· Use full-fat cream cheese: Low-fat or fat-free cream cheese can result in a thinner, less creamy filling. Full-fat provides the best texture and flavor.
· Soften the cream cheese properly: Let cream cheese sit at room temperature for 30 to 60 minutes before mixing. Softened cream cheese blends smoothly without lumps.
· Do not over-drain the pineapple: The pineapple needs some moisture to flavor the filling, but too much liquid will make the bars watery. Press gently in a strainer—do not squeeze dry.
· Fold, do not stir: Stirring the whipped topping into the cream cheese mixture can deflate it. Use a gentle folding motion to keep the filling light and airy.
· Chill thoroughly: These bars need at least 4 hours in the refrigerator to set. Overnight is even better. Cutting too soon will result in messy, runny slices.
· Use a sharp knife for clean slices: For neat, clean bars, use a sharp knife and wipe it clean between each cut. Chilled bars cut more cleanly than cold-but-not-frozen bars.
· Make ahead: These bars are perfect for making a day or two ahead. Keep them covered in the refrigerator until ready to serve.
Variations and Substitutions
· Pineapple coconut angel bars: Add ½ cup of toasted coconut to the filling. Sprinkle additional coconut on top.
· Pineapple pecan angel bars: Fold ½ cup of finely chopped pecans into the filling. Sprinkle more pecans on top.
· Pineapple mango angel bars: Reduce the crushed pineapple to 1 cup and add 1 cup of finely diced fresh or canned mango.
· Key lime pineapple bars: Add 2 tablespoons of key lime juice and 1 teaspoon of lime zest to the filling.
· Graham cracker alternative crust: Use vanilla wafer crumbs, shortbread cookie crumbs, or crushed Nilla wafers instead of graham crackers.
· Homemade whipped cream version: Substitute 2 cups of homemade whipped cream (1 cup heavy cream whipped with ¼ cup powdered sugar) for the frozen whipped topping.
· Lighter version: Use reduced-fat cream cheese and light whipped topping. The texture will be slightly less rich but still delicious.
· Gluten-free: Use gluten-free graham crackers for the crust.
Serving Suggestions
These pineapple angel bars are delightful on their own, but they pair beautifully with:
· Fresh berries: Strawberries, blueberries, or raspberries add color and tartness.
· A dollop of whipped cream: Extra whipped cream on top never hurts.
· A drizzle of honey or caramel: For added sweetness.
· A cup of coffee or tea: The perfect afternoon pick-me-up.
· As part of a dessert buffet: Serve alongside brownies, cookies, or fruit salad.
Storage and Freezing Instructions
Refrigerator Storage
Store pineapple angel bars in an airtight container in the refrigerator for up to 5 days. The crust may soften slightly over time, but the bars will remain delicious.
Freezer Storage
These bars freeze beautifully for up to 2 months. Freeze the assembled, uncut bars in the baking dish until firm, then cover tightly with plastic wrap and aluminum foil. Alternatively, cut into individual bars and freeze on a baking sheet before transferring to a freezer bag. Thaw overnight in the refrigerator before serving. The texture remains creamy and delicious.
Do Not Freeze With Toppings
If freezing, add coconut, nuts, or other garnishes after thawing, just before serving.
Nutritional Information
Approximate per bar (based on 16 bars, with graham cracker crust, full-fat cream cheese, and whipped topping):
· Calories: 240
· Protein: 3g
· Fat: 14g
· Saturated Fat: 8g
· Carbohydrates: 27g
· Fiber: 1g
· Sugar: 19g
· Sodium: 150mg
· Calcium: 4% DV
· Iron: 2% DV
Note: Nutritional values are estimates and will vary based on specific ingredients and portion sizes.
Frequently Asked Questions
Can I use fresh pineapple instead of canned?
Yes. Use 1½ cups of finely chopped fresh pineapple. Fresh pineapple contains bromelain, an enzyme that can prevent the filling from setting properly. To avoid this, cook the fresh pineapple in a small saucepan with 2 tablespoons of sugar for 5 minutes, then cool completely before using.
Why are my pineapple angel bars runny?
Runny bars usually mean the filling did not have enough time to set, the pineapple was too wet, or the cream cheese was not firm enough. Chill for at least 4 hours (overnight is better). Press the pineapple gently in a strainer to remove excess juice without squeezing dry. Use full-fat cream cheese.
Can I use homemade whipped cream instead of Cool Whip?
Yes. Whip 1 cup of cold heavy cream with ¼ cup of powdered sugar and 1 teaspoon of vanilla until stiff peaks form. Fold into the cream cheese mixture. Homemade whipped cream is less stable than Cool Whip, so the bars may be slightly softer.
How do I get clean, neat slices?
Chill the bars for at least 4 hours (overnight is best). Use a sharp knife and wipe it clean with a damp paper towel between each cut. For the cleanest slices, place the baking dish in the freezer for 30 minutes before cutting.
Can I make this dessert in a different size pan?
Yes. An 8×8 or 9×9 square pan will yield thicker bars. Adjust the crust ingredients to 1½ cups of crumbs and 6 tablespoons of butter. The filling recipe fits perfectly in a 9×13-inch pan as written.
Is this dessert gluten-free?
Not as written. Use gluten-free graham crackers for the crust to make it gluten-free. The filling is naturally gluten-free.
Can I add a layer of fruit on top?
Absolutely. Sliced strawberries, kiwi, or mandarin oranges make a beautiful topping. Arrange them on top of the filling before chilling, or add them just before serving.
How far in advance can I make these bars?
You can make them up to 2 days ahead. Keep them covered in the refrigerator. Add any crunchy toppings (coconut, nuts) just before serving to keep them crisp.
Final Thoughts
Pineapple angel bars are the kind of dessert that brings a little bit of sunshine to any table. They are light, creamy, sweet, and tangy—a perfect balance of flavors and textures. The no-bake preparation makes them ideal for warm weather, busy holidays, or any time you want a showstopping dessert without the hassle of turning on the oven.
This recipe is a classic for a reason. It is simple enough for a beginner baker but impressive enough to serve at a party. The graham cracker crust is buttery and crisp. The filling is fluffy and cloud-like. The pineapple adds bright, tropical sweetness. A sprinkle of toasted coconut or pecans on top adds the perfect finishing touch.
So crush those graham crackers, soften that cream cheese, and open a can of crushed pineapple. In just a few minutes of active time, you will have a dessert that needs only time in the refrigerator to become something magical. Slice it into bars, serve it chilled, and watch it disappear. That is the beauty of no-bake desserts—simple, dreamy, and absolutely delicious.