

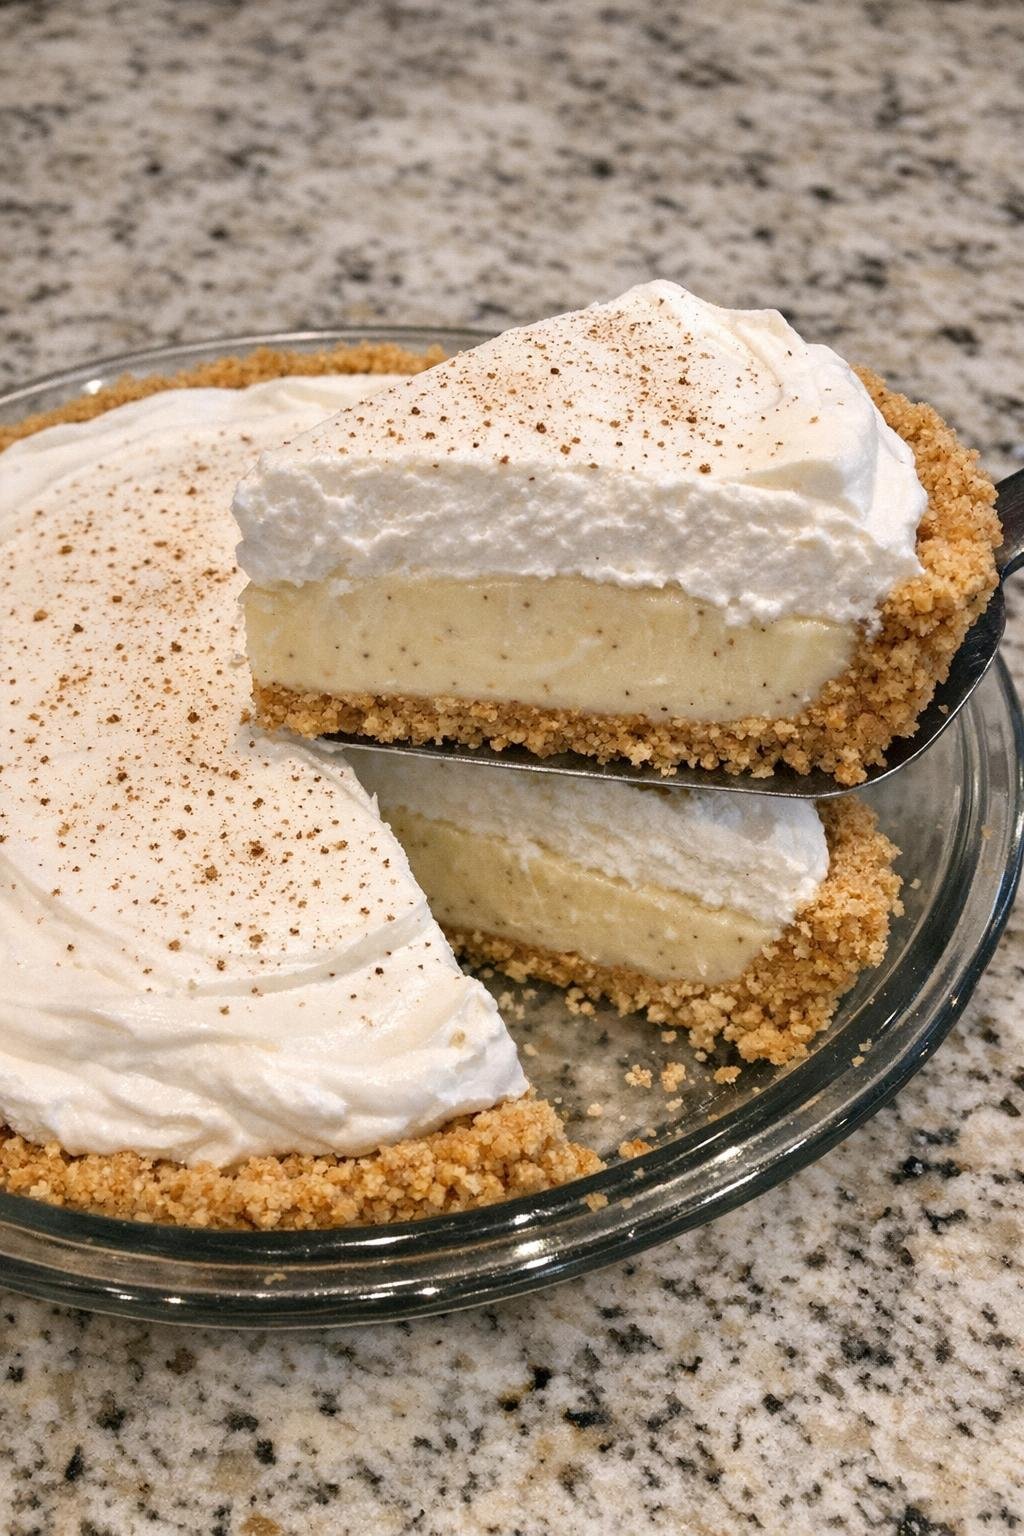
This 4-Ingredient No-Bake Eggnog Pie is a creamy, dreamy holiday dessert that brings the nostalgic flavor of classic eggnog into an easy, chilled pie. With a smooth, fluffy filling and a buttery graham cracker crust, it’s the perfect sweet treat for Christmas gatherings, Thanksgiving celebrations, or any festive occasion.
The best part? You don’t need to turn on the oven. Just mix four simple ingredients, fill the crust, and let the refrigerator do the work. It’s an effortless dessert that looks beautiful on a holiday table and tastes even better after chilling.
Why You’ll Love This Recipe
- Only four ingredients: A short shopping list makes preparation simple.
- No baking required: Perfect when your oven is already busy with holiday cooking.
- Creamy eggnog flavor: Warm holiday-inspired flavor in every bite.
- Make-ahead friendly: Prepare it the night before your gathering.
- Perfect for entertaining: A chilled pie that’s easy to slice and serve.
Ingredients
- 1 prepared 9-inch graham cracker pie crust: Provides a sweet, crunchy foundation.
- 1 package (3.4 ounces) instant vanilla pudding mix: Helps the filling set while adding a smooth vanilla flavor.
- 1 ½ cups cold eggnog: Gives the pie its signature holiday flavor.
- 1 container (8 ounces) frozen whipped topping, thawed: Creates a light, fluffy texture.
Instructions
Step 1: Prepare the Filling
In a large mixing bowl, whisk together the instant vanilla pudding mix and cold eggnog for approximately 2 minutes, until the mixture begins to thicken.
Make sure you use instant pudding mix rather than cook-and-serve pudding.
Step 2: Fold in the Whipped Topping
Gently fold the thawed whipped topping into the pudding mixture using a spatula.
Continue folding until the filling is smooth, fluffy, and evenly combined. Avoid stirring too vigorously, as this can reduce the light texture.
Step 3: Fill the Pie Crust
Spoon the eggnog filling into the prepared graham cracker crust.
Spread the filling evenly, smoothing the top with a spatula.
Step 4: Chill
Cover the pie loosely with plastic wrap and refrigerate for at least 6 hours, preferably overnight, until completely firm.
Step 5: Slice and Serve
Once chilled, slice the pie with a sharp knife. For cleaner slices, wipe the knife between cuts.
Serve cold straight from the refrigerator.
Helpful Tips
- Use cold eggnog: Cold ingredients help the instant pudding thicken properly.
- Choose instant pudding: Cook-and-serve pudding will not work the same way in this no-bake recipe.
- Thaw whipped topping: Let it thaw in the refrigerator before folding it into the filling.
- Allow enough chilling time: Six hours is recommended, but overnight chilling gives the pie more time to set.
- Keep it refrigerated: The creamy filling needs to stay cold until serving.
Easy Variations
- Add nutmeg: Sprinkle a little freshly grated nutmeg over the top before serving.
- Use a chocolate crust: A chocolate cookie crust makes a delicious alternative to graham crackers.
- Add cinnamon: A light dusting of cinnamon adds extra holiday warmth.
- Make individual desserts: Divide the filling among small dessert cups for easy individual servings.
These are optional additions and are not included in the original four ingredients.
What to Serve with Eggnog Pie
This festive pie pairs wonderfully with hot coffee, tea, hot chocolate, or a warm cup of spiced cider. It also makes a lovely finish to a holiday meal featuring roasted turkey, glazed ham, or a comforting family dinner.
Storage Instructions
Refrigerator: Cover the pie and store it in the refrigerator for up to 3 days.
Freezer: Freeze the pie tightly wrapped for up to 1 month for best quality. Thaw it in the refrigerator before serving, or serve partially frozen for a firmer, frozen-dessert texture.
Serving: Keep the pie chilled until ready to serve. Do not leave it sitting at room temperature for extended periods.
Frequently Asked Questions
Can I make this pie the day before Christmas?
Absolutely. This pie is ideal for preparing ahead. Making it the night before allows the filling plenty of time to set.
Can I use homemade whipped cream instead of frozen whipped topping?
Yes, but use approximately 2 cups of firmly whipped, stabilized cream. The texture and setting may vary, so keep the pie well chilled.
Can I use a different pudding flavor?
Vanilla pudding is recommended for a classic eggnog flavor. Cheesecake-flavored instant pudding is another delicious option.
Why is my eggnog pie not setting?
The filling may need more chilling time, or the pudding may not have been instant pudding. Make sure the eggnog is cold and measure the ingredients accurately.
Can I freeze No-Bake Eggnog Pie?
Yes. Freezing gives it a firmer, almost frozen cheesecake-like texture. Let it soften slightly in the refrigerator before slicing if desired.
4-Ingredient No-Bake Eggnog Pie Recipe Card
Prep Time: 10 minutes
Chill Time: 6 hours
Total Time: 6 hours 10 minutes
Servings: 8
Ingredients
- 1 prepared 9-inch graham cracker pie crust
- 1 package (3.4 ounces) instant vanilla pudding mix
- 1 ½ cups cold eggnog
- 1 container (8 ounces) frozen whipped topping, thawed
Directions
- In a large bowl, whisk the instant vanilla pudding mix and cold eggnog for about 2 minutes until thickened.
- Gently fold in the thawed whipped topping until smooth and fluffy.
- Spoon the filling into the prepared graham cracker crust.
- Smooth the top, cover, and refrigerate for at least 6 hours or overnight.
- Slice and serve chilled.
Recipe Notes: Use instant vanilla pudding, not cook-and-serve pudding. Keep refrigerated until serving.
Final Thoughts
This 4-Ingredient No-Bake Eggnog Pie is an easy way to bring a little holiday magic to your dessert table. Its creamy filling, delicate vanilla flavor, and classic eggnog taste make it a wonderful make-ahead treat for family gatherings and Christmas celebrations. With just four ingredients and no oven required, it’s a dessert you’ll want to make throughout the holiday season.