

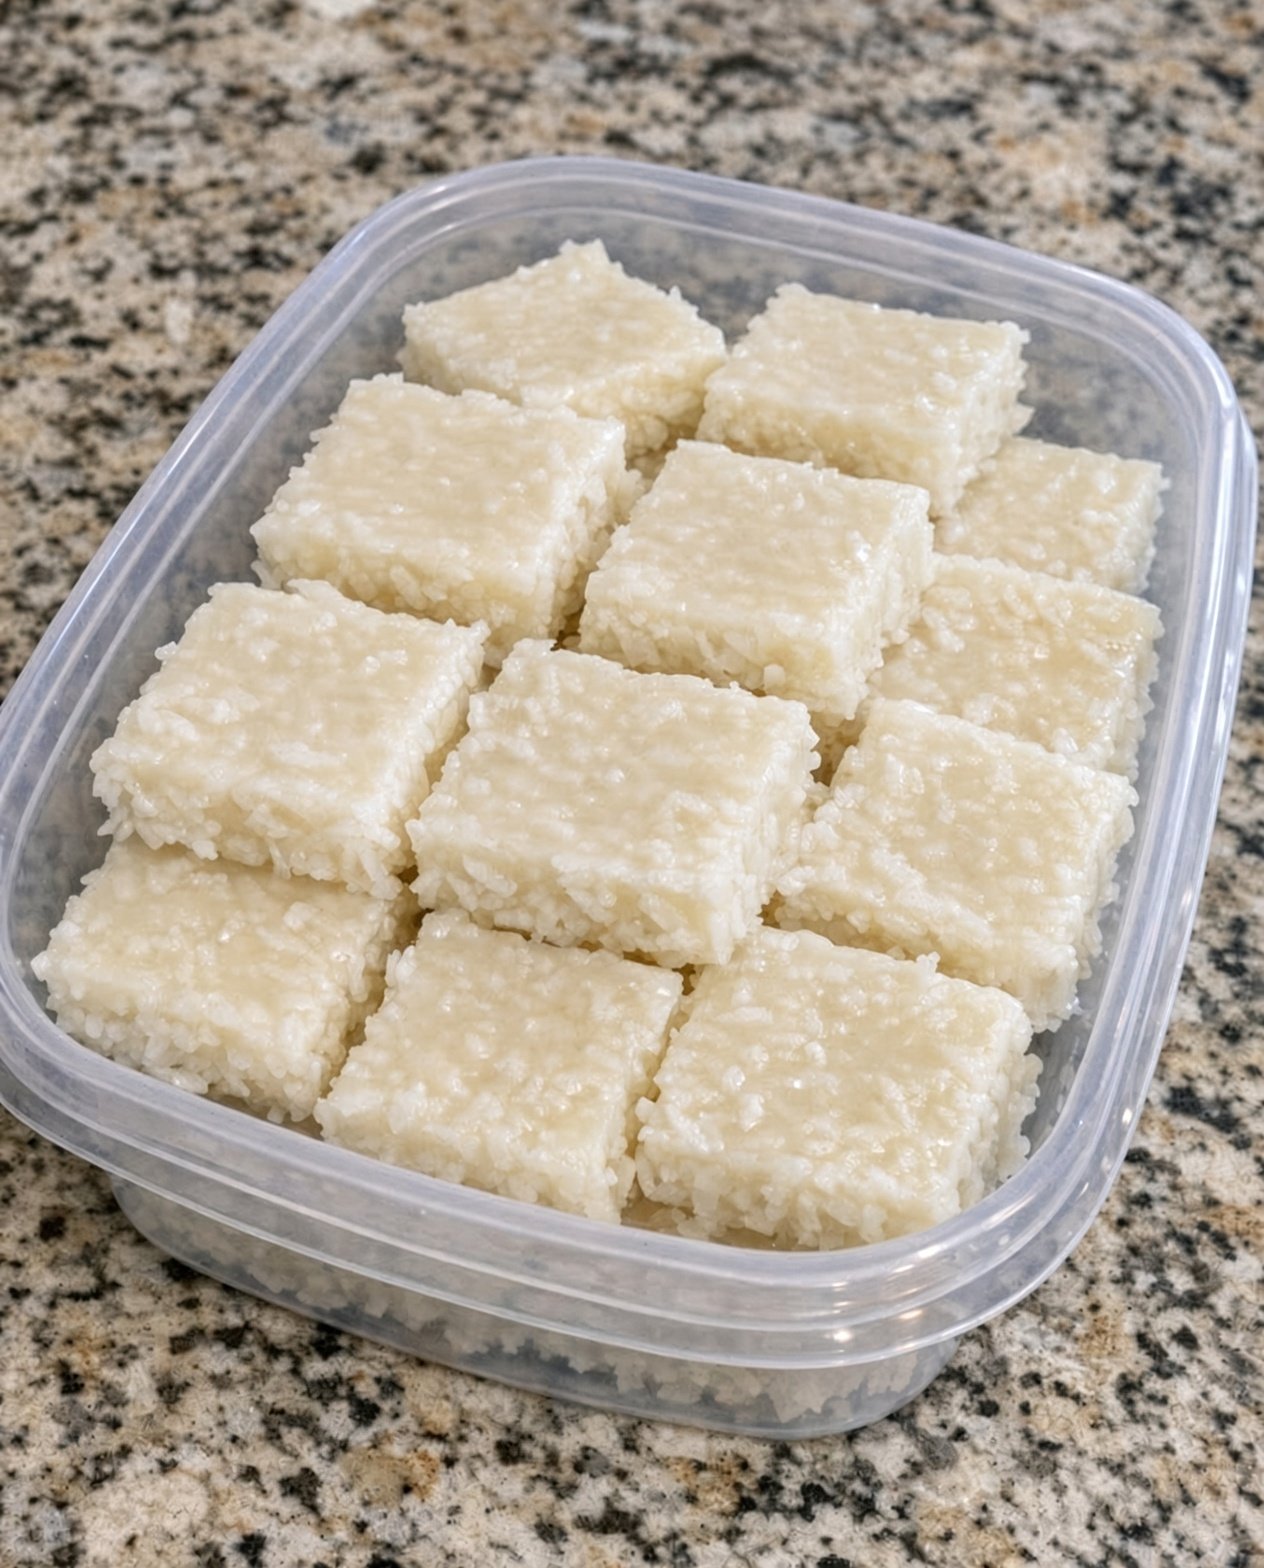
This 3-Ingredient Depression Era Coconut Candy is a simple, old-fashioned sweet inspired by the resourceful home cooking of earlier generations. Made with just three affordable ingredients, these little coconut treats are sweet, chewy, and wonderfully easy to prepare.
During the Great Depression, many families relied on pantry staples and simple recipes to make special treats without spending much money. Although recipes varied from household to household, inexpensive homemade candies offered a way to enjoy something sweet with ingredients already on hand.
This version keeps things simple with shredded coconut, sweetened condensed milk, and vanilla extract. There’s no candy thermometer, complicated sugar syrup, or elaborate equipment required. Just mix, shape, and bake for an easy homemade candy that works beautifully for holidays, dessert trays, or an everyday sweet treat.
Why You’ll Love This Coconut Candy
- Only three ingredients: A short shopping list makes this recipe budget-friendly.
- Easy preparation: The mixture comes together in one bowl.
- Chewy coconut texture: Each bite is sweet, tender, and full of coconut flavor.
- No candy thermometer: The oven does the work.
- Perfect for sharing: Serve these little treats at family gatherings, holiday parties, or afternoon coffee breaks.
Ingredients
- 2 cups sweetened shredded coconut
- 1/2 cup sweetened condensed milk
- 1 teaspoon vanilla extract
These quantities make a small batch of coconut candy with a soft, chewy center and lightly toasted edges.
Instructions
Step 1: Prepare the Oven
Preheat your oven to 325°F (165°C). Line a baking sheet with parchment paper to prevent the coconut candy from sticking.
Step 2: Mix the Ingredients
Place the shredded coconut in a medium mixing bowl. Add the sweetened condensed milk and vanilla extract.
Stir thoroughly until the coconut is evenly coated and the mixture holds together when pressed. It should be moist and sticky but not runny.
Step 3: Shape the Candy
Using a teaspoon or small cookie scoop, portion the mixture into small mounds.
Place each mound on the prepared baking sheet, leaving approximately 1 inch between pieces. Gently press each mound together so it holds its shape during baking.
For a more traditional candy-like appearance, shape the mixture into small rounded bites rather than large cookies.
Step 4: Bake Until Golden
Bake for approximately 12–16 minutes, watching closely toward the end of the baking time.
The edges should become lightly golden while the centers remain soft. Avoid overbaking, because the coconut can become dry or overly dark.
Step 5: Cool Completely
Remove the baking sheet from the oven and let the coconut candy cool for 10 minutes before transferring the pieces to a wire rack.
Allow the candies to cool completely before serving. They will firm up as they cool while retaining a pleasantly chewy texture.
Tips for the Best Coconut Candy
Use shredded coconut, not coconut flour. Shredded coconut provides the texture needed for this recipe. Coconut flour absorbs moisture differently and is not a suitable direct substitute.
Measure the condensed milk carefully. Too much liquid can make the mixture spread during baking. Add a little less initially if your coconut is particularly fine or moist, then adjust as needed.
Keep the pieces small. Smaller mounds bake more evenly and are easier to serve as candy.
Watch the edges. Coconut can brown quickly near the end of baking. Remove the candy once the edges are lightly golden.
Let the candies cool. The mixture is delicate when hot and becomes firmer as it cools.
Easy Variations
The following ideas are optional additions and will change the recipe from three ingredients.
Chocolate Coconut Candy
Dip the cooled coconut pieces halfway into melted chocolate. Place them on parchment paper and refrigerate until the chocolate sets.
Toasted Coconut Candy
For a deeper coconut flavor, lightly toast some additional shredded coconut and sprinkle it over the candies before serving.
Almond Coconut Candy
Press one whole almond into the center of each mound before baking for a nutty variation.
Cinnamon Coconut Candy
Add a small pinch of ground cinnamon to the mixture for a warm, subtle flavor.
Lemon Coconut Candy
Add a little finely grated lemon zest for a fresh citrus note that complements the sweetness of the coconut.
How to Serve Depression Era Coconut Candy
Serve these candies on a small dessert platter with tea, coffee, or a glass of cold milk. They also make a charming addition to a homemade candy assortment during the holidays.
For gift-giving, arrange the completely cooled pieces in small paper candy cups and place them in a food-safe container. Keep the candies away from heat and moisture to help maintain their texture.
Because they are sweet and rich, small portions are ideal.
How to Store Coconut Candy
Once completely cooled, store the candies in an airtight container in the refrigerator for up to 1 week.
For the best texture, separate layers with parchment paper to prevent sticking. Let refrigerated pieces sit at room temperature briefly before serving if you prefer a softer bite.
You can also freeze the candies in a freezer-safe container for up to 2 months. Thaw them in the refrigerator before serving.
Frequently Asked Questions
Is this an authentic Great Depression recipe?
This is a modern, three-ingredient recipe inspired by the economical spirit of Depression-era cooking. The precise combination of ingredients should not be considered a verified historical recipe, since families used different ingredients and methods depending on what was available.
Can I make this coconut candy without baking?
This particular version is designed to be baked so the candies hold together and develop lightly toasted edges. A no-bake version would require different proportions and a separate method.
Why is my coconut mixture too wet?
Different brands and types of shredded coconut absorb moisture differently. Add a little more shredded coconut if the mixture is too loose to shape.
Why did my candies spread?
The mixture may contain too much condensed milk, or the coconut may be too finely shredded. Make sure the mixture holds together when pressed and shape it into compact mounds before baking.
Can I use unsweetened coconut?
Yes, but the candies will be less sweet and may have a different texture. You may need to adjust the amount of condensed milk slightly to help the mixture hold together.
3-Ingredient Depression Era Coconut Candy Recipe Card
Prep Time: 10 minutes
Bake Time: 12–16 minutes
Cooling Time: 20 minutes
Total Time: Approximately 42–46 minutes
Yield: About 16 small candies
Difficulty: Easy
Ingredients
- 2 cups sweetened shredded coconut
- 1/2 cup sweetened condensed milk
- 1 teaspoon vanilla extract
Instructions
- Preheat the oven to 325°F (165°C) and line a baking sheet with parchment paper.
- Combine the shredded coconut, sweetened condensed milk, and vanilla extract in a mixing bowl.
- Stir until the coconut is evenly coated and the mixture holds together when pressed.
- Shape into small mounds and place on the prepared baking sheet.
- Bake for 12–16 minutes, until the edges are lightly golden.
- Cool on the baking sheet for 10 minutes, then transfer to a wire rack to cool completely.
- Serve immediately or store in an airtight container in the refrigerator.
Recipe Notes
- Use sweetened shredded coconut for the intended texture.
- Keep the candies small for even baking.
- Check frequently during the final minutes to prevent overbrowning.
- Optional chocolate, nuts, spices, or citrus zest will add to the ingredient count.
Final Thoughts
These 3-Ingredient Depression Era Coconut Candies are a lovely reminder that homemade sweets can be simple, affordable, and satisfying. With shredded coconut, sweetened condensed milk, and vanilla, you can create little chewy treats without complicated techniques or expensive ingredients.
Whether you make them for a holiday platter, a family dessert, or a nostalgic baking afternoon, these easy coconut candies bring a touch of old-fashioned simplicity to your kitchen.